
How to Take Apart Power Air Fryer Xl
Table Of Contents
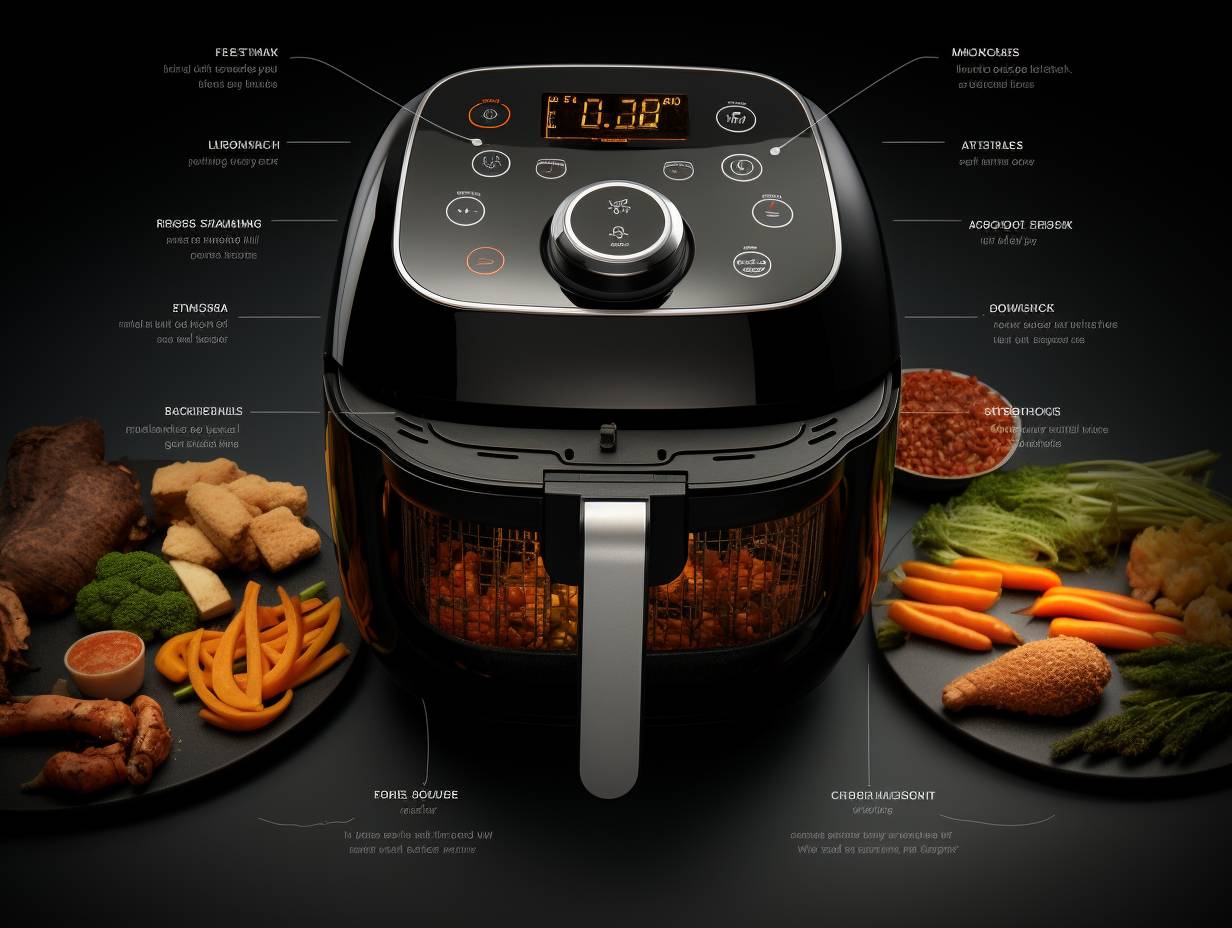
Have you ever wondered what makes your Power Air Fryer XL tick?
Well, just like peeling back the layers of an onion, taking apart your fryer can reveal its inner workings.
In this article, we’ll show you how to dismantle your Power Air Fryer XL step by step.
With a few tools and a little know-how, you’ll be able to explore the hidden depths of your fryer and give it a thorough cleaning.
Let’s get started!
Key Takeaways
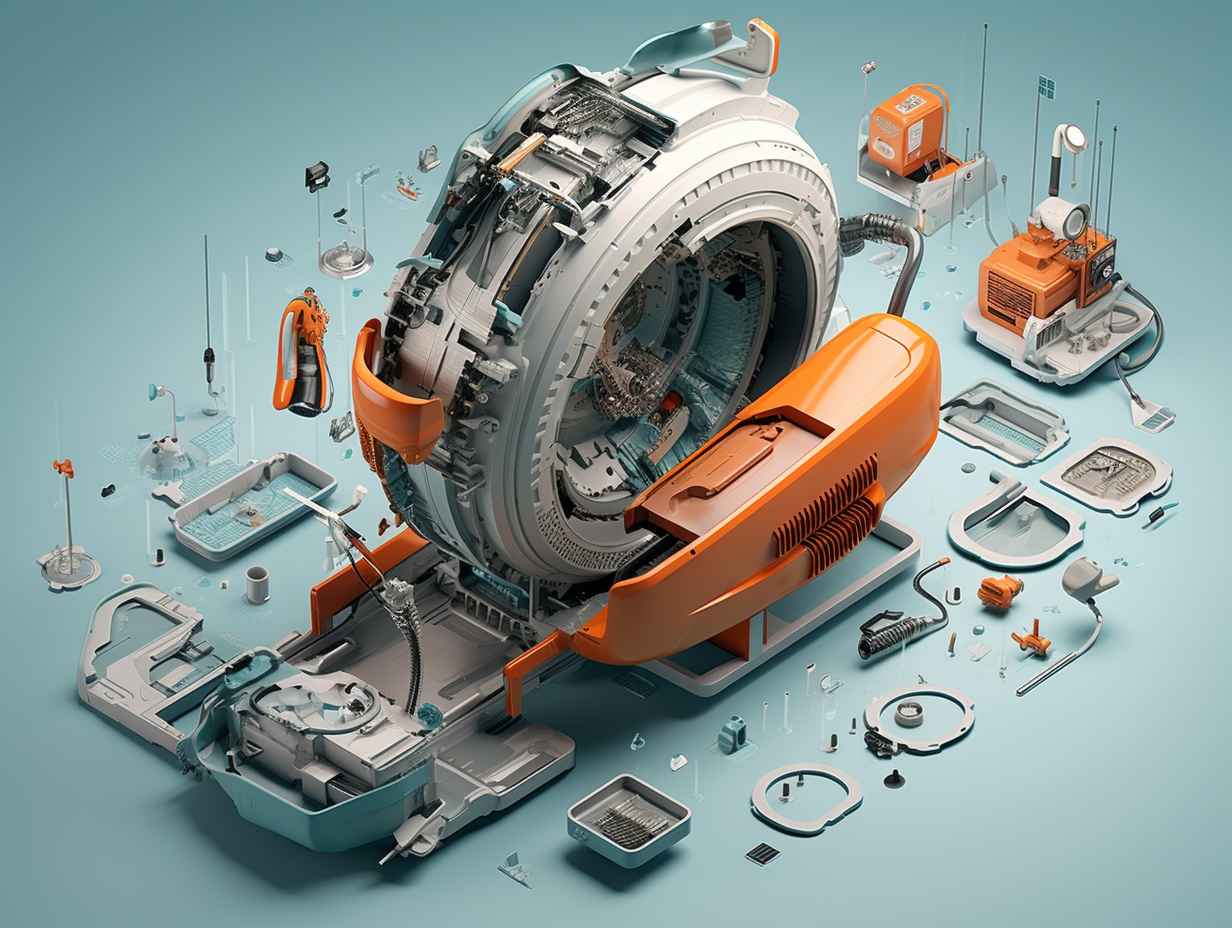
- The disassembly process of the Power Air Fryer XL involves gathering tools, unplugging the fryer, removing the cooking basket, taking off the outer shell, disconnecting electrical components, and detaching the heating element.
- Cleaning and maintenance of the Power Air Fryer XL includes thoroughly cleaning each component, soaking detachable parts in warm soapy water, using vinegar for tough stains, and wiping down surfaces with a vinegar and water mixture before reassembling the fryer.
- When reassembling the Power Air Fryer XL, it is important to place the cooking basket securely, insert the drip tray until it clicks, align and attach the outer basket, and ensure that the pan sits flat. Troubleshooting alignment and attachment issues may be necessary.
- To maintain the Power Air Fryer XL, regularly clean the components, remove food residue, avoid using metal utensils to protect the non-stick coating, and perform routine maintenance checks. Troubleshooting common issues, checking for proper alignment and attachment, and verifying correct assembly of parts are important. Seek professional assistance if necessary and follow tips for using the Power Air Fryer XL.
Gather the Necessary Tools
To begin dismantling your Power Air Fryer XL, gather the required tools. The tools needed for this task include a Phillips head screwdriver, a flathead screwdriver, and a pair of pliers.
Before you start, it’s important to take some safety precautions. First, make sure the fryer is unplugged and completely cooled down to avoid any potential electrical hazards.
Next, find a clean and well-lit workspace to work on, ensuring that you have enough room to lay out the components. It’s also a good idea to wear protective gloves to avoid any injuries while handling sharp objects or hot surfaces.
Unplug the Power Air Fryer XL
First, unplug your Power Air Fryer XL.
Before you begin taking apart your air fryer, it’s important to follow some safety precautions. Always ensure that your appliance is unplugged to avoid any risk of electric shock.
Now, let’s move on to the step-by-step instructions.
Locate the power cord attached to your air fryer and gently pull it out from the electrical outlet. Make sure to handle the cord carefully, avoiding any twisting or bending that could cause damage.
By unplugging your Power Air Fryer XL, you’re ensuring your safety and preventing any potential accidents during the disassembly process.
Now that you have successfully unplugged your appliance, you can proceed with the next steps of taking apart your air fryer.
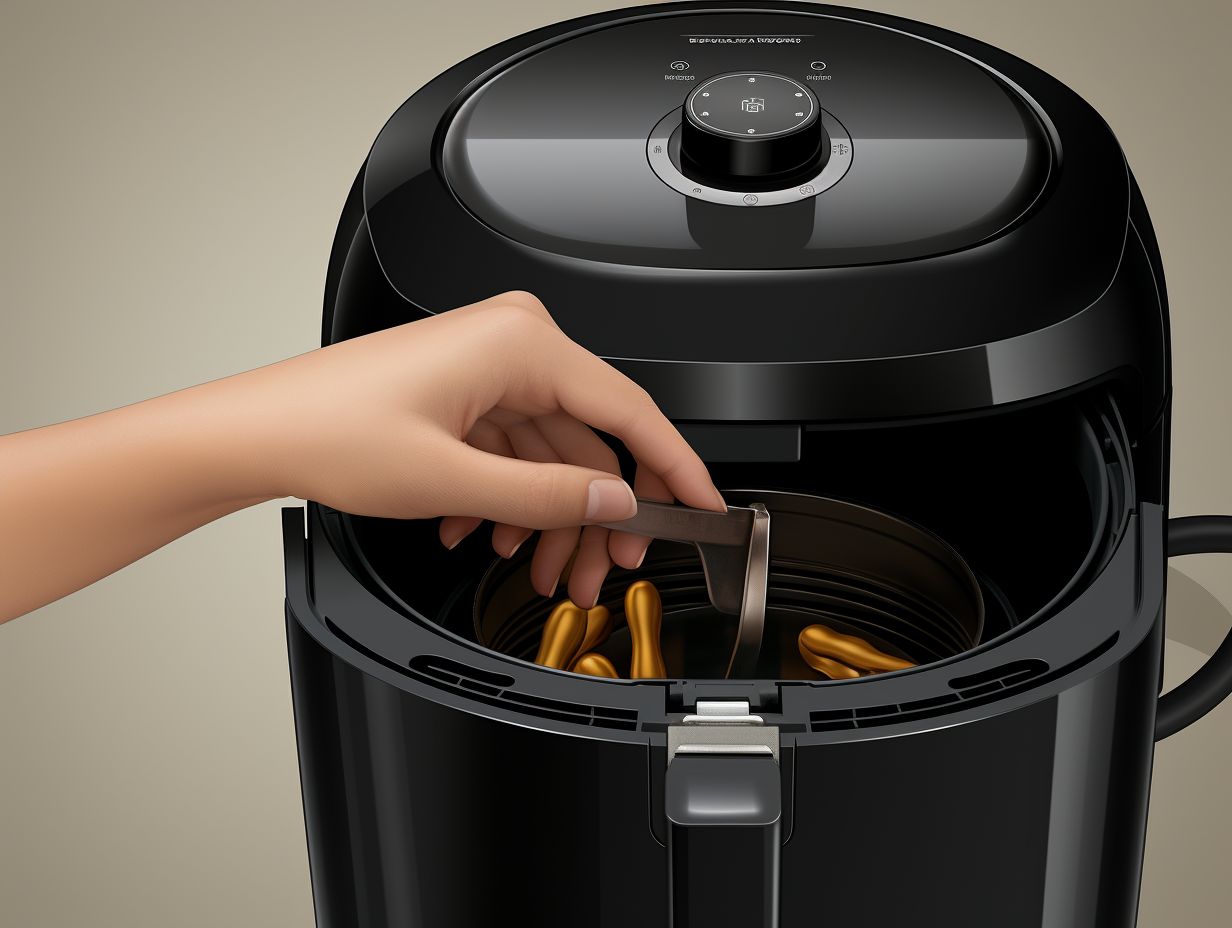
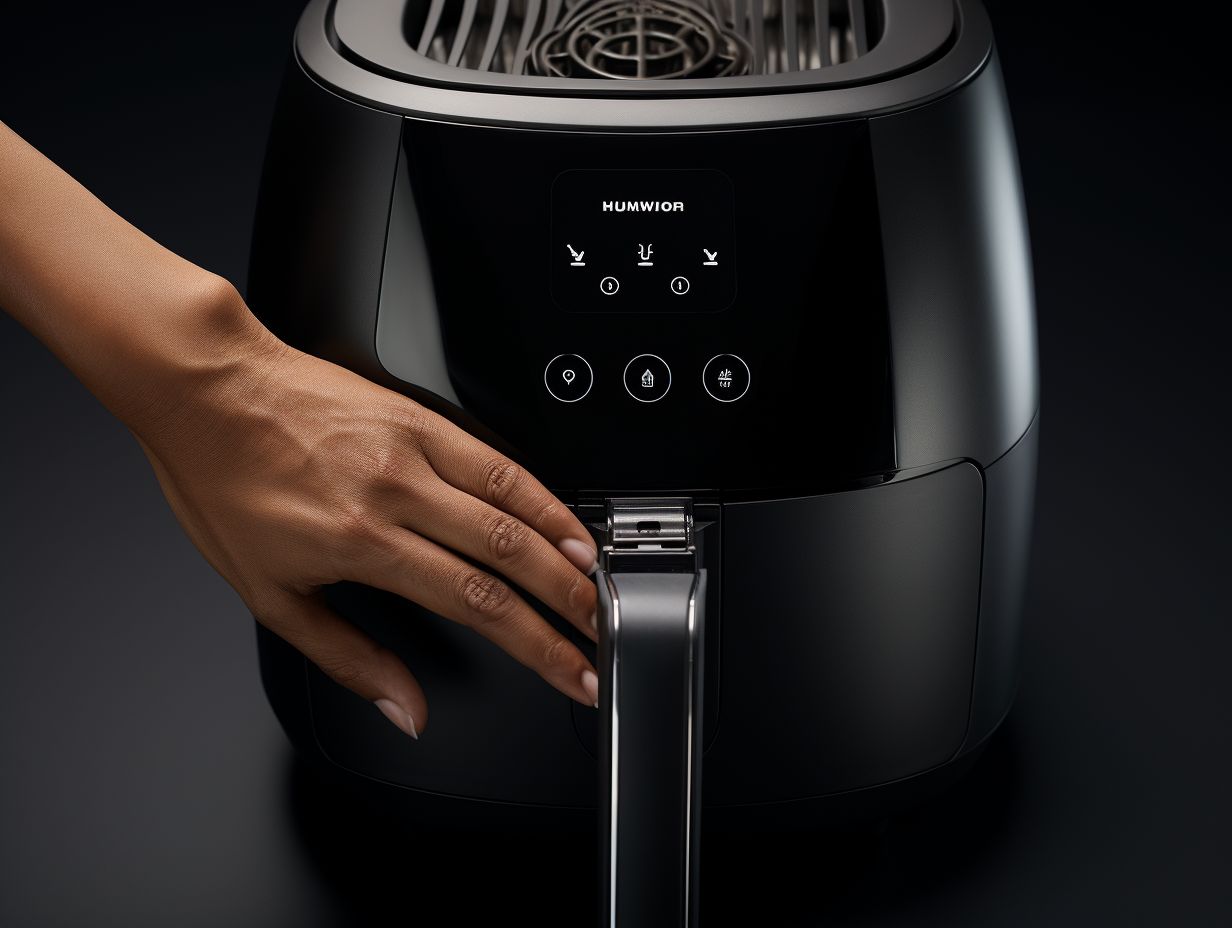
Remove the Cooking Basket
To remove the cooking basket from your Power Air Fryer XL, grip the handle firmly and lift it out of the appliance. The cooking basket is an important component of the air fryer, as it holds the food while it cooks.
It’s crucial to properly clean the cooking basket after each use to maintain its performance and longevity. To clean the basket, you can follow these simple steps:
- Remove any excess food debris from the basket.
- Wash the basket with warm soapy water or place it in the dishwasher.
- Use a non-abrasive sponge or brush to scrub away any stubborn stains.
- Rinse the basket thoroughly and dry it before reassembling.
If you encounter any issues with the cooking basket, here are some common troubleshooting tips:
- Ensure that the basket is properly inserted into the appliance.
- Check for any damaged or worn-out parts that may need replacement.
- If the basket is sticking or not sliding smoothly, apply a small amount of cooking oil to the tracks.
Take off the Outer Shell
Start by unplugging the Power Air Fryer XL from the electrical outlet. Before you begin removing the outer shell, it’s important to take some safety precautions. Ensure that the fryer is completely cool and there’s no residual heat. Place a soft cloth or towel underneath the fryer to protect the surface you’re working on.
Now, let’s move on to troubleshooting common issues that may arise during this process. If you encounter any resistance while trying to remove the outer shell, check for any hidden screws or clips that may be holding it in place. Additionally, be careful not to force or pry too hard as this could damage the fryer. Taking your time and being gentle with the removal process will help prevent any unnecessary mishaps.
Disconnect the Electrical Components
To disconnect the electrical components of the Power Air Fryer XL, first, ensure that you have followed the necessary safety precautions mentioned in the previous subtopic. Once you have done that, you can proceed with the following steps:
- Unplug the power cord: Gently pull the power cord out from the electrical socket to disconnect the power supply to the fryer.
- Remove the screws: Using a screwdriver, carefully remove the screws that secure the electrical components in place.
- Disconnect the wires: Identify the wires connected to the electrical components and disconnect them by gently pulling them apart.
Detach the Heating Element
Now, how can you detach the heating element from the Power Air Fryer XL?
Detaching the heating element is necessary for heating element maintenance or troubleshooting heating element issues.
To begin, make sure the fryer is unplugged and cooled down completely.
Then, locate the screws that secure the heating element to the fryer’s housing. Use a screwdriver to carefully unscrew them and remove any brackets or clips that may be holding the element in place.
Once the screws and brackets are removed, gently pull the heating element away from the fryer housing. Be cautious not to damage any wires connected to the element.
With the heating element detached, you can now clean or inspect it for any signs of damage or malfunction.
Clean Each Component Thoroughly
Clean every component of the Power Air Fryer XL thoroughly. Proper maintenance is key to ensuring a longer lifespan for your appliance. Here are some tips for deep cleaning those hard-to-reach areas:
-
Use a small brush: Reach into crevices and corners with a small brush to remove any stubborn residue.
-
Soak in warm soapy water: Disassemble the components and soak them in warm soapy water. This will help to loosen any grease or food particles.
-
Utilize vinegar: For those tough stains, mix equal parts vinegar and water and use a cloth to wipe down the surfaces. Vinegar is a natural cleaner that can help remove stubborn grime.
Reassemble the Power Air Fryer XL
After thoroughly cleaning each component, you can now reassemble the Power Air Fryer XL.
Start by placing the cooking basket back into the fryer’s main unit. Ensure that it’s securely in place.
Next, insert the drip tray and slide it in until it clicks into position.
Then, reattach the outer basket by aligning it with the grooves on the main unit and pushing it down firmly.
Finally, place the pan back into the fryer and make sure it sits flat.
To troubleshoot common issues, double-check that all components are properly aligned and securely attached.
For maintaining the Power Air Fryer XL, regularly clean the components and remove any food residue.
Additionally, avoid using metal utensils that can scratch the non-stick coating.
Frequently Asked Questions
Is It Necessary to Gather Any Additional Tools Besides Those Mentioned in the Article?
You don’t need any additional tools besides the ones mentioned in the article. However, be aware that alternative disassembly methods may carry potential risks if you don’t use the recommended tools.
How Long Does It Typically Take to Disassemble a Power Air Fryer Xl?
To disassemble a Power Air Fryer XL, it typically takes around 10-15 minutes. You’ll only need a screwdriver and a pair of pliers. Follow the instructions carefully and you’ll have it taken apart in no time!
Can the Cooking Basket Be Cleaned in a Dishwasher?
To properly maintain and prolong the lifespan of your Power Air Fryer XL, make sure to clean the cooking basket regularly. While it is not recommended to clean it in the dishwasher, you can use alternative methods like hand washing with warm soapy water.
Are There Any Safety Precautions to Be Aware of When Disconnecting the Electrical Components?
Before diving into disassembling the Power Air Fryer XL, it’s crucial to prioritize your safety. Remember to unplug the appliance and handle the electrical components with care. Estimate the time needed for disassembly to avoid rushing and potential accidents.
Are There Any Special Cleaning Products Recommended for Cleaning the Power Air Fryer XL Components?
When cleaning your Power Air Fryer XL components, it’s important to use special cleaning products recommended by the manufacturer. These products are specifically designed to effectively and safely clean the different parts. However, there may be alternative cleaning methods available as well.
Conclusion
Now that you have successfully taken apart the Power Air Fryer XL, remember to clean each component thoroughly before reassembling.
By doing so, you ensure that your air fryer remains in top-notch condition and continues to provide you with delicious, healthier meals.
Just like a well-orchestrated symphony, the dismantling process flows smoothly, allowing you to unlock the inner workings of your appliance.
So go ahead, take a bow, and enjoy the fruits of your labor.
Disclaimer: Some information is provided through AI. Users should always conduct their own research and consult with qualified professionals before making any decisions.Affiliate information declaration: We may earn revenue from the products referred on this page and participate in affiliate programs.
Related Posts
How to Take Apart Nuwave Air Fryer
Discover the secrets of dismantling your Nuwave Air Fryer with ease! Say goodbye to frustration and hello to handy tips in this step-by-step guide.
How to Take Apart Philips Air Fryer
Discover the secrets of dismantling a Philips Air Fryer effortlessly! Unleash your inner DIY guru and master the art of disassembling this kitchen marvel today.
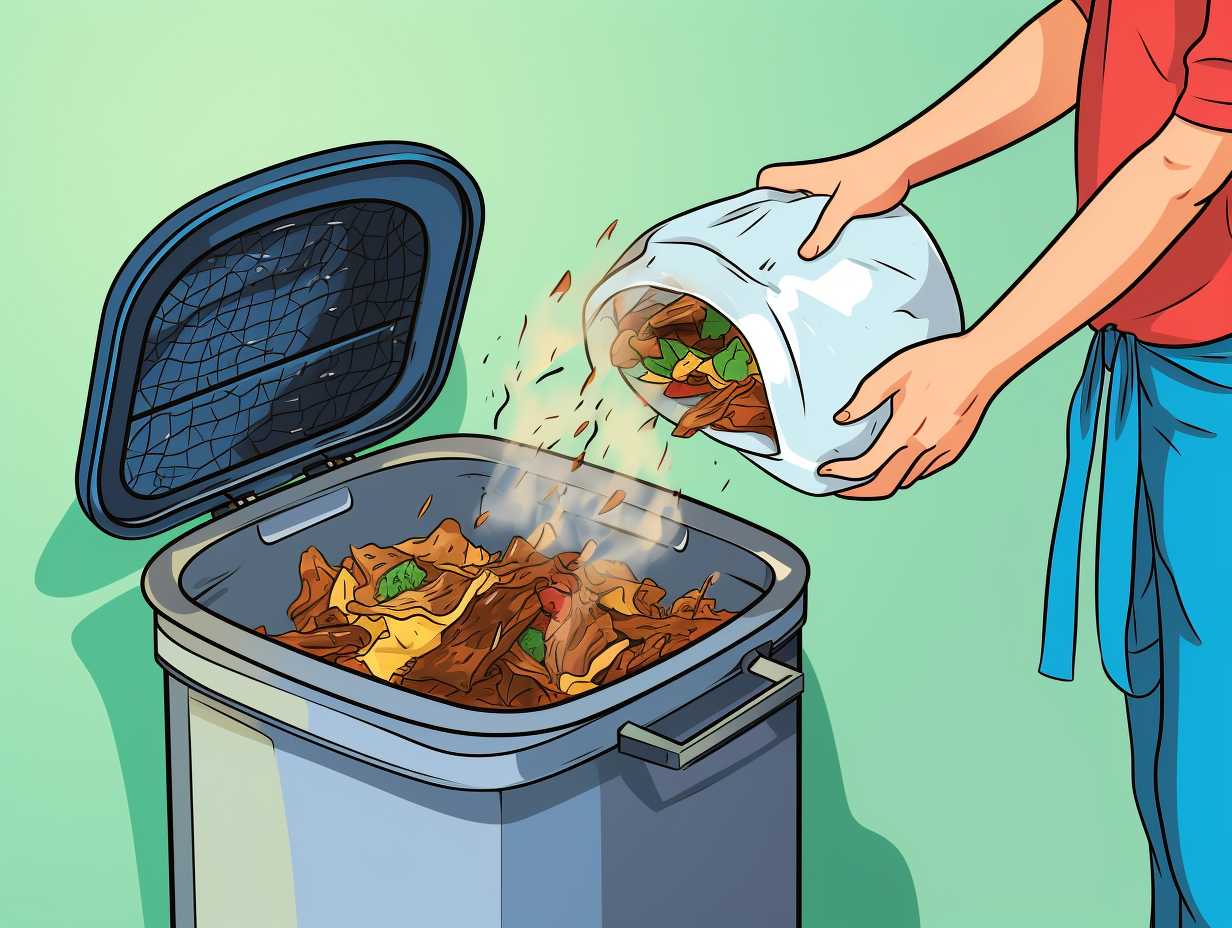
How to Throw Away Air Fryer
Discover the easiest and most efficient way to bid farewell to your air fryer. Say goodbye to clutter with our simple guide!