
How to Assemble Tower Air Fryer
Imagine the mouthwatering aroma of crispy, guilt-free indulgence wafting through your kitchen. With the Tower Air Fryer, you can enjoy all your favorite fried foods without the excess oil and calories.
But before you can savor those perfectly cooked fries or chicken wings, you need to assemble your trusty appliance. Don’t worry, it’s a breeze. Just follow these simple steps to put together your Tower Air Fryer and embark on a delicious culinary journey.
Key Takeaways
- Properly unbox and organize components of the Tower Air Fryer to avoid damage and confusion.
- Attach the basket and pan securely, adjusting temperature settings before placing food inside.
- Connect the control panel carefully, ensuring a secure and proper connection.
- Install the air circulation system correctly, positioning vents for proper air flow and temperature regulation.
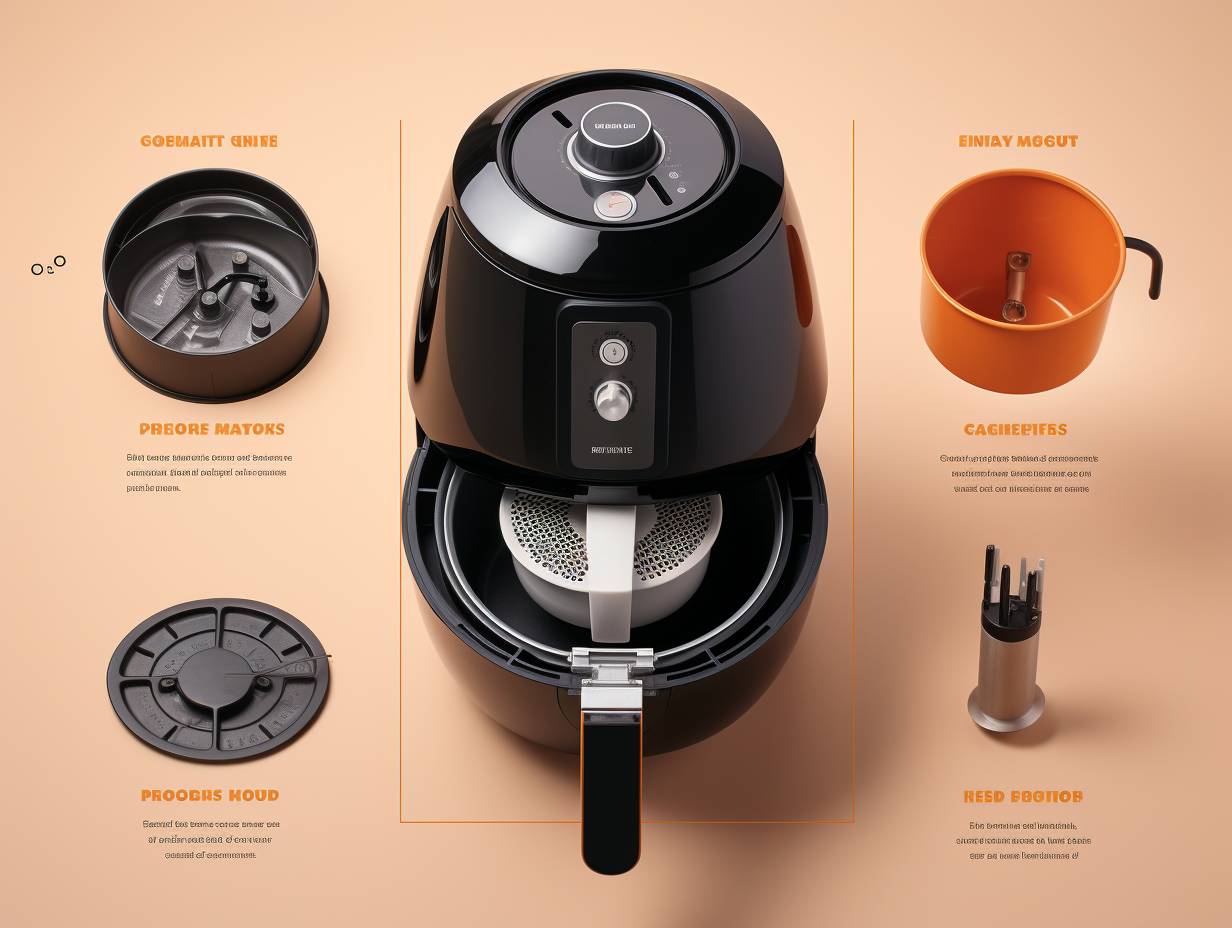
Unboxing and Organizing Components
When you receive your Tower Air Fryer, unpack the box and begin organizing its components.
Here are some unboxing tips to help you get started.
First, carefully remove the fryer from its packaging, making sure not to damage any of the parts. Lay them out on a clean, flat surface so you can easily see what you have.
Take note of each component and familiarize yourself with their names and functions. This will make the assembly process much smoother.
As for component storage ideas, consider using small bins or containers to keep everything together. Label each container to make it easier to find specific parts when you need them.
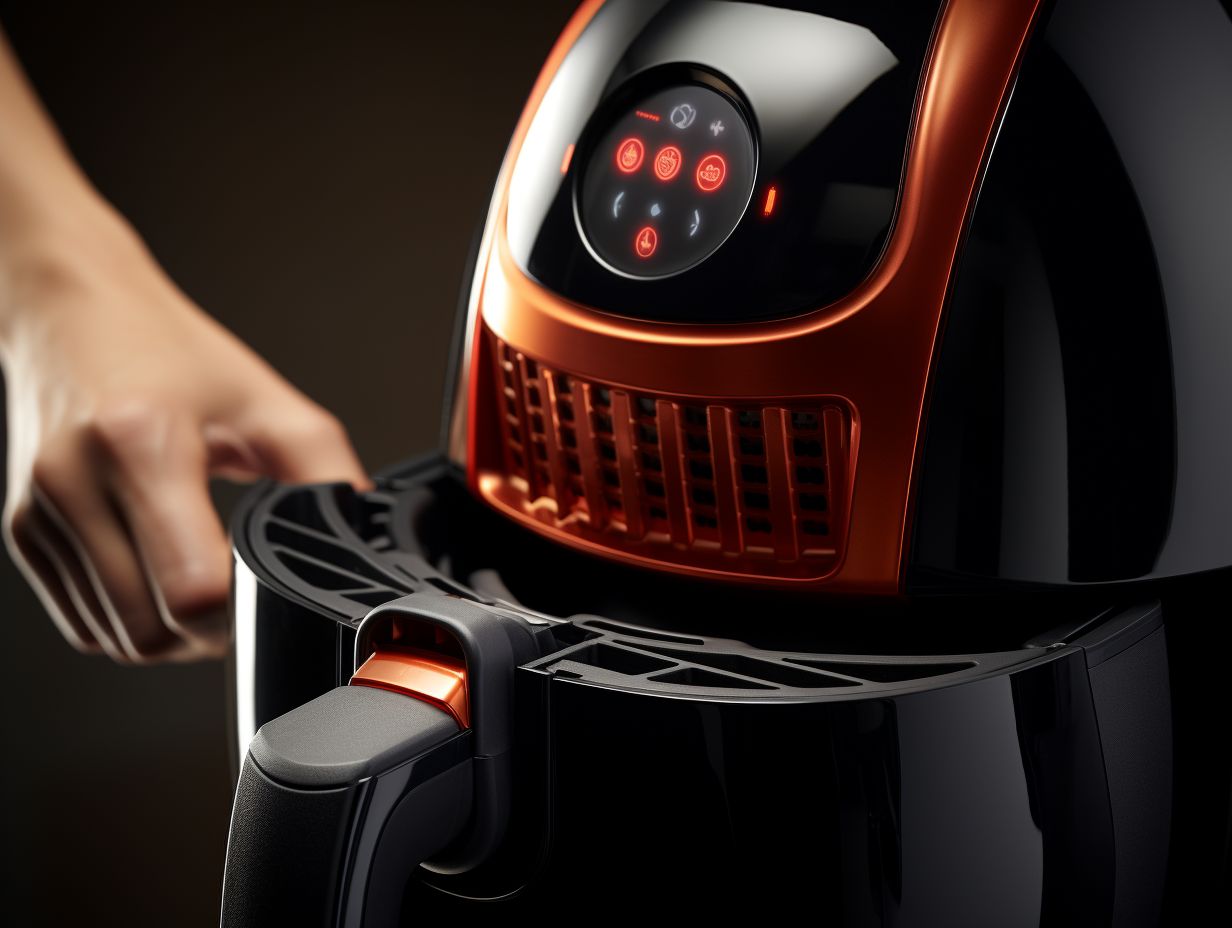
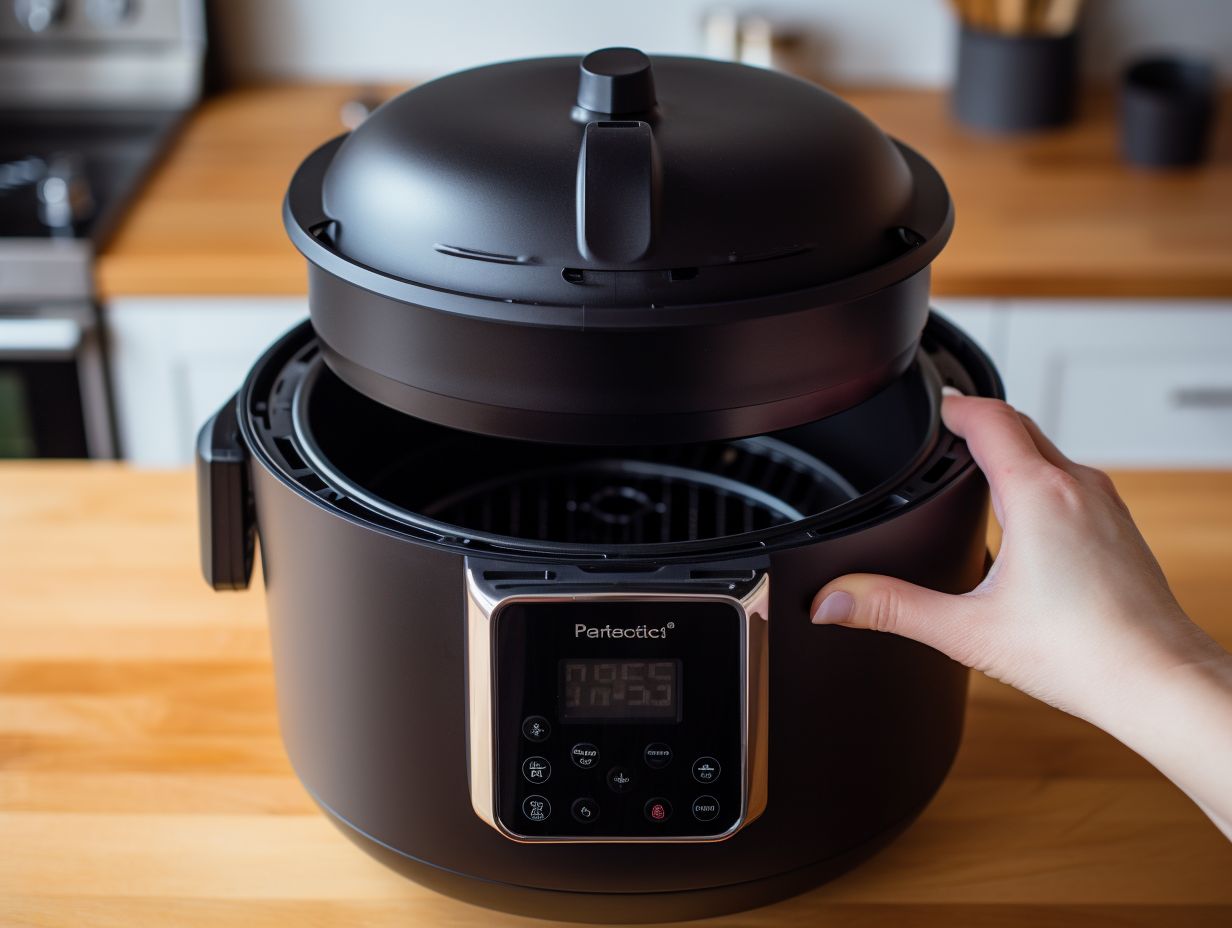
Attaching the Basket and Pan
To continue assembling your Tower Air Fryer, you’ll now attach the basket and pan together. Start by aligning the tabs on the basket with the notches on the pan. Once aligned, press down firmly until you hear a click, indicating that they’re securely attached.
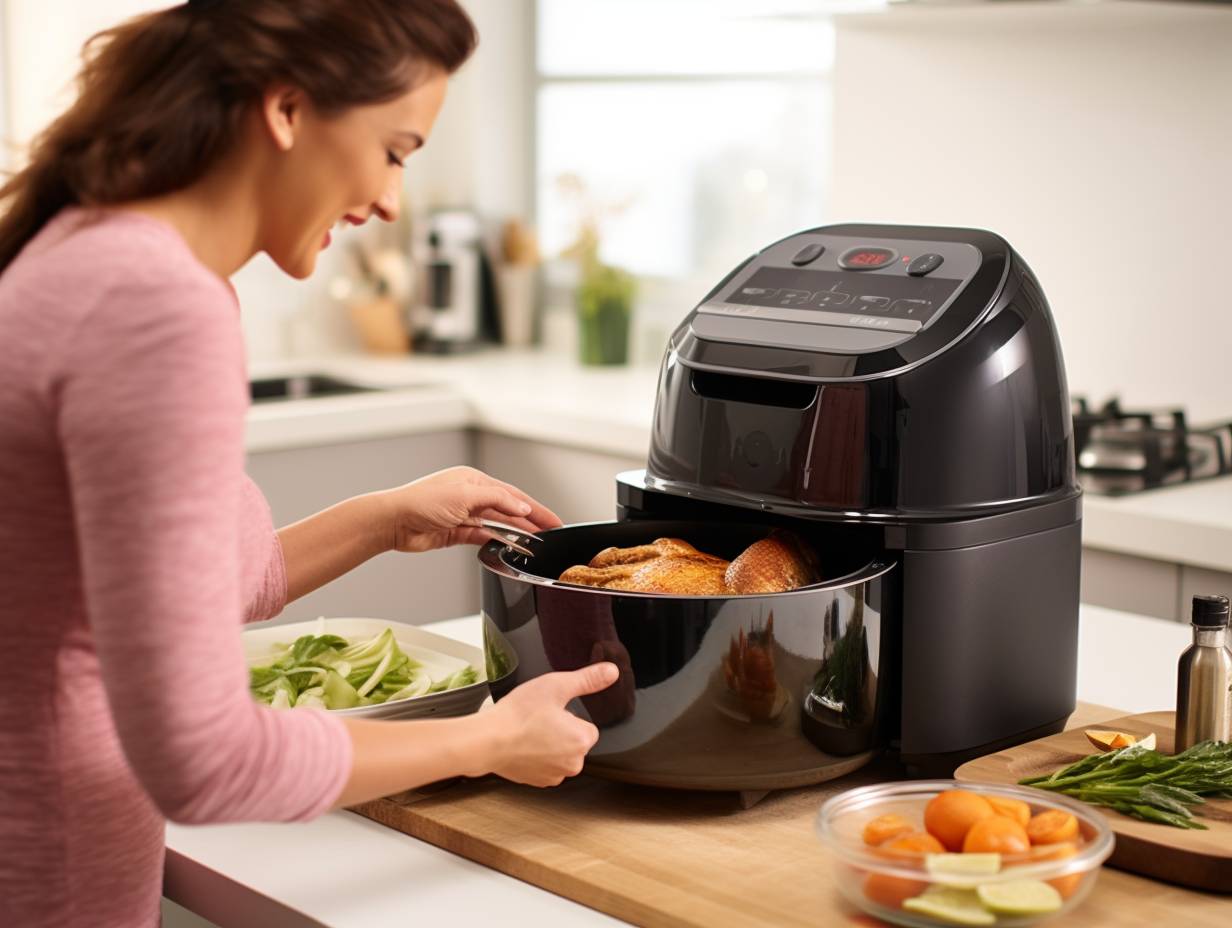
Now that the basket and pan are attached, you can proceed with adjusting the temperature settings. The Tower Air Fryer allows you to easily control the cooking temperature, ensuring that your food is cooked to perfection. Simply turn the temperature dial to your desired setting and wait for the air fryer to reach the desired temperature before placing your food inside.
After using your Tower Air Fryer, it’s important to clean and maintain it properly. Make sure to unplug the appliance and allow it to cool down before cleaning. The basket and pan can be washed with warm soapy water or placed in the dishwasher for convenience.
Regular maintenance, such as wiping down the exterior with a damp cloth and checking for any signs of wear or damage, will help prolong the lifespan of your air fryer.
Connecting the Control Panel
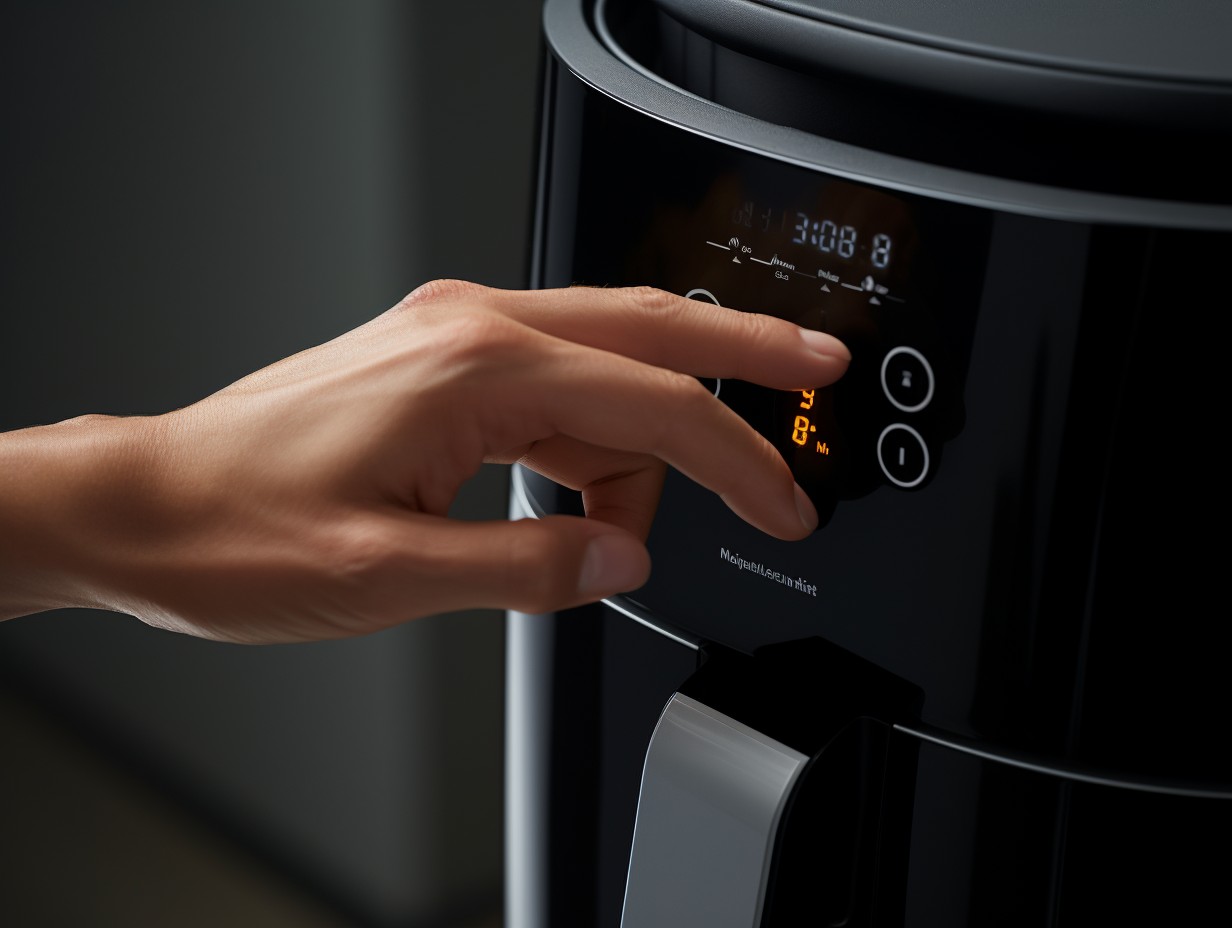
You frequently connect the control panel by inserting the corresponding plugs into their designated ports. The control panel is a crucial part of the tower air fryer as it allows you to select the desired cooking settings and monitor the progress of your food.
To ensure a proper connection, follow these steps:
-
Inspect the electrical wiring: Before connecting the control panel, check the wiring for any signs of damage or fraying. If you notice any issues, contact customer support for troubleshooting assistance.
-
Match the plugs: Locate the plugs on the control panel and the ports on the main unit. Ensure that the plugs match the corresponding ports before inserting them. Connecting the wrong plugs can lead to malfunction or electrical hazards.
-
Secure the connection: Once the plugs are inserted, gently push them in until they’re securely connected. Make sure there are no loose connections or gaps between the plugs and ports.
Installing the Air Circulation System
To properly install the air circulation system, begin by ensuring that all necessary components are included in the assembly kit. Check for the air circulation fan, the heating element, and the air intake and exhaust vents. Once you have confirmed that all the parts are present, start by attaching the air circulation fan to the designated spot inside the air fryer. Make sure it’s securely fastened to prevent any issues during operation.
Next, connect the heating element to the air fryer, ensuring that it’s properly aligned and firmly attached.
Lastly, locate the air intake and exhaust vents and position them in the designated areas. These vents are crucial for proper air flow and temperature regulation.
Securing the Safety Features
Now, focus on ensuring the safety features are properly secured in your Tower Air Fryer assembly. Follow these safety precautions during assembly to ensure a safe and successful setup:
-
Double-check all connections: Make sure all components are securely attached and tightened. Loose connections can lead to accidents or malfunctioning.
-
Verify proper insulation: Ensure that all electrical wires are properly insulated and protected. Exposed wires can cause electrical shocks or fires.
-
Test the safety features: Before using the air fryer, test the safety features such as the automatic shut-off mechanism or the overheat protection. This will help prevent any potential hazards during operation.
If you encounter any issues during the assembly process, refer to the troubleshooting section of the instruction manual. It will provide guidance on common assembly issues and how to resolve them effectively.
Frequently Asked Questions
How Long Does It Take to Preheat the Tower Air Fryer?
To preheat the Tower Air Fryer, it usually takes around 3-5 minutes. Once it’s heated, you can start cooking your delicious meals. Remember to follow the cooking time recommendations for each recipe!
Can I Use Aluminum Foil or Parchment Paper in the Tower Air Fryer?
When using alternative materials in the Tower Air Fryer, like aluminum foil or parchment paper, be sure to follow the manufacturer’s guidelines. These tips will help you cook with ease and prevent any damage to the appliance.
What Is the Maximum Cooking Temperature of the Tower Air Fryer?
The maximum cooking temperature of the Tower Air Fryer is 200 degrees Celsius. It takes about 3 minutes to preheat. Make sure to refer to the instruction manual for proper assembly.
Can I Cook Frozen Food Directly in the Tower Air Fryer?
Yes, you can cook frozen food directly in the Tower Air Fryer. It’s one of the best features of this appliance. Just follow the cooking tips provided in the user manual for delicious results.
How Do I Clean the Tower Air Fryer After Use?
To clean your Tower Air Fryer after use, start by unplugging it and allowing it to cool. Then, using warm soapy water and a soft cloth, wipe down the interior and exterior. Avoid using abrasive cleaners or tools that may scratch the surface.
Conclusion
As you secure the safety features and complete the assembly of your tower air fryer, a sense of accomplishment and anticipation fills the air.
The organized components, attached basket and pan, connected control panel, and installed air circulation system stand as a testament to your capability and determination.
With each step taken, you’re one step closer to enjoying deliciously crisp and healthy meals.
Disclaimer: Some information is provided through AI. Users should always conduct their own research and consult with qualified professionals before making any decisions.Affiliate information declaration: We may earn revenue from the products referred on this page and participate in affiliate programs.
Related Posts

How to Assemble Power Air Fryer Rotisserie
Discover the secrets to perfect rotisserie cooking with the Power Air Fryer! Learn how to assemble this game-changing kitchen appliance for deliciously crispy and juicy meals. Click now!
How to Assemble Power Xl Air Fryer
Unlock the Secrets of the Power XL Air Fryer! Discover the Simple Steps to Assemble and Master Your Air Fryer Like a Pro. Get Started Today!
How to Attach Air Fryer Lid to Instant Pot
Discover the secret to unlocking ultimate cooking convenience with our step-by-step guide on attaching the air fryer lid to your Instant Pot.